The complete guide to comment-to-DM on Instagram
How comment-to-DM works step by step — choosing keywords, writing the public reply and DM, avoiding common mistakes, and measuring results.
“Comment GUIDE and I’ll send it to you.” You’ve seen the line under countless Reels. It works because it turns a passive viewer into someone who has asked for something — and it gives you a clear, polite reason to message them.
This guide walks through how comment-to-DM works in Mtschat, from the moment someone types a keyword to the moment your link lands in their inbox. We’ll cover choosing keywords, writing the public reply and the DM, the mistakes we see most often, and how to tell whether it’s working.
How comment-to-DM works
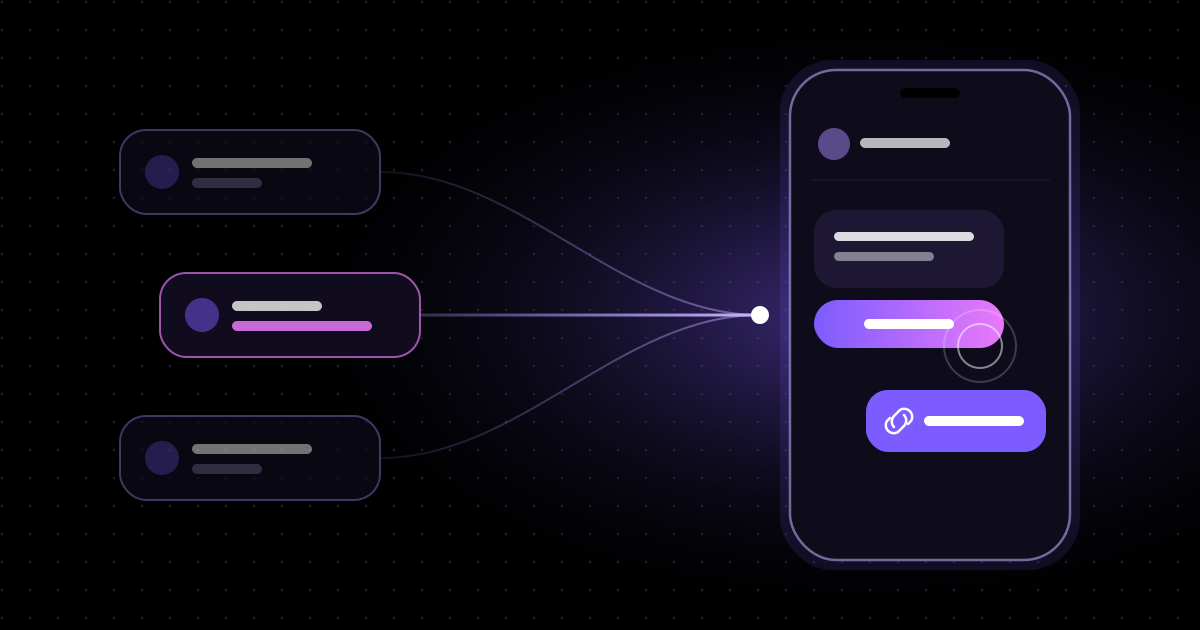
Mtschat’s “Auto-DM links from comments” template follows four steps. Each one exists for a reason.
- Someone comments your keyword. You tell your audience which word to comment — say, GUIDE. Mtschat watches the post for comments containing it.
- Mtschat posts a public reply and sends a DM. Under the comment, a short public reply appears so everyone can see you responded. At the same time, the commenter receives a DM with a button.
- They tap the button. Tapping is the person choosing to continue the conversation. That tap opens Instagram’s 24-hour messaging window.
- The link is delivered. Inside that window, Mtschat sends the link — or whatever you promised.
Why the button, rather than dropping the link straight into the first message? Because Instagram’s messaging rules are built around consent and recent interaction. The tap is an explicit signal that the person wants your message, and it opens a standard 24-hour window in which you can keep talking. That window also gives you room for follow-up questions, which we’ll come back to. For the background, read our explainer on the 24-hour messaging window.
Choosing your keyword
The keyword is the whole interface. If people can’t remember it, spell it, or type it quickly, the automation never runs. A good keyword is:
- Short. One word, ideally under eight letters. GUIDE, RECIPE, PLAN, LINK.
- Easy to spell. Avoid words people commonly misspell or autocorrect into something else.
- Specific to the offer. RECIPE for a recipe, CHECKLIST for a checklist. It reminds people what they’re getting.
- Unlikely to appear by accident. “YES” or “WANT” show up in ordinary comments and will trigger messages to people who didn’t ask.
One keyword per offer
If you run several automations at once, give each a distinct keyword. Reusing GUIDE on three different posts with three different links makes it harder to tell which content is working and easier to send someone the wrong thing.
Tell people exactly what to type
Say the keyword out loud in the video, put it in the caption, and show it on screen. “Comment GUIDE below” is clearer than “drop a comment if you want it”. Capitalising the keyword in your caption helps people notice it, even though matching doesn’t depend on capitalisation in most setups — check your automation settings to confirm how yours behaves.
Writing the public reply
The public reply is visible to everyone scrolling the comments. It does two jobs: it tells the commenter to check their DMs, and it shows other viewers that commenting actually gets a response.
Keep it short and human. A few examples:
- “Sent — check your DMs.”
- “On its way to your inbox.”
- “Just messaged you the guide.”
If your template supports several reply variations, use them. Seeing the identical line repeated two hundred times under one post looks mechanical. Three or four variations that rotate read far more naturally.
Writing the DM
The first DM has one job: get the tap. It should say who it’s from, remind the person what they asked for, and make the button obvious.
The opening message
Something like:
Hi! Thanks for commenting on the Reel. Tap below and I’ll send you the guide.
Then a button with a clear label: “Send me the guide” or “Get the link”. Avoid vague labels like “Continue” or “Click here” — the label should describe what happens next.
The delivery message
Once they tap, send the link with one line of context:
Here it is: the full guide, free. Let me know if you have questions.
If you want to learn more about the person, this is the moment. Because the 24-hour window is now open, you can add a single question after the link — “Are you just starting out, or already doing this?” — with two or three buttons as answers. Keep it optional and after the delivery, never before. People who asked for a link should get the link first.
To add questions, tags or branches like this, open the template in Flow Builder. Our walkthrough on building your first funnel shows how.
Common mistakes
Most comment-to-DM automations that underperform do so for one of a handful of reasons:
- The keyword is buried. It’s in the last line of a long caption and never mentioned in the video. People won’t hunt for it.
- The keyword is too generic. Common words trigger messages to people who were just commenting normally.
- The first DM asks for too much. An email address, a question and a link all at once. Ask for the tap first; everything else can follow.
- The button label is vague. “Continue” gives no reason to tap. Name the thing.
- The link is broken or slow. Test it on a phone before you publish. A landing page that loads slowly on mobile undoes all the work before it.
- The automation isn’t attached to the right post. Double-check which posts it watches before you start promoting.
- Nobody is watching the replies. Some people will answer the DM with a real question. Route those to your Team Inbox so a person can respond.
Testing before you go live
Before you promote the post, run through the flow yourself:
- From a second account, comment the keyword on the post.
- Check that the public reply appears and reads naturally.
- Open the DM and confirm the button label is clear.
- Tap the button and confirm the link arrives and opens correctly.
- If you added a follow-up question, answer it and confirm the right tag is applied.
Five minutes of testing saves a post full of confused comments.
Measuring it
Comment-to-DM produces a clean funnel, which makes it easy to measure. Mtschat’s Insights track four things for each automation:
- Runs — how many times the automation fired, roughly one per qualifying comment.
- Link clicks — how many people opened the link you delivered.
- Click-through rate (CTR) — clicks as a share of runs.
- Recorded conversions — completed actions you’ve chosen to track, such as a purchase or sign-up.
Reading the numbers
Each stage points to a different fix:
- Few runs? The problem is upstream — the content, or how clearly you asked for the keyword.
- Plenty of runs but low CTR? Look at the DM and button. Is the label clear? Does the message remind people what they asked for?
- Good CTR but few conversions? The automation is doing its job; look at the landing page or the offer itself.
Change one thing at a time, and give each change enough runs to compare fairly. For a deeper look at reading these numbers, see our guide to measuring Instagram DM performance.
Putting it together
A good comment-to-DM setup is simple: a short, specific keyword said clearly in the content; a friendly public reply; a DM that earns the tap; and a link that arrives instantly and works. Everything else — questions, tags, follow-ups, hand-offs — builds on that foundation.
The template is available on every Mtschat plan, including Free. See it in action on the comment-to-DM page.